Copy · Scan · Print · Fax
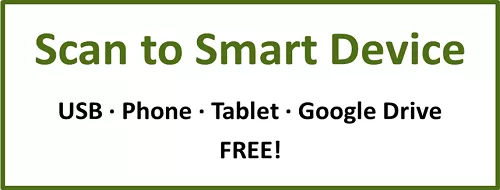
Each of our Branches offers self-serve copying, scanning, printing, and faxing using SimpleScan machines. SimpleScan is an easy to use touch-screen scanning device that scans, saves, and sends all your documents, photos, magazines, and more. The Simple Scan Station can automatically crop, straighten, and orient each page scanned. The scanner can automatically crop, straighten, and orient each page.
If you need assistance with printing the correct documents, see a librarian before inserting payment.


Remote Printing Service, Option A
- Click on this link for Remote Printing.
- You will be taken to White Oak Library District's Remote Printing Portal.
- Click on Select File to upload the file you want to print.
- Select the number of copies to be printed, and whether you want to print in black & white or color. The estimated job cost will be shown.
- Enter a User Name or Library Card Number under User Info.
- This is how you will find your print job at the library, so write it down!
- You do not need to have a library card to use this service.
- Click Submit.
- A pop up will let you know if the job submission was successful.
- Proceed to the print release station at any White Oak Library Branch to pay for and retrieve your print jobs.
Remote Printing by Email, Option B
- To print an email message or attachment, simply forward your email. To print a file saved to your phone, attach the file to an email and send it.
- Black & White Printer: tbs-tbs-wold-bw@eprintitservice.com
- Color Printer: tbs-tbs-wold-color@eprintitservice.com
- You will receive an email from no-reply@eprintitservice.com when your print jobs have been received.
- At the print kiosk at any White Oak Library District Branch, select “Card Number/Webprint User”.
- Your username is your email address before the @ symbol (Example: test123@library.com -> test123). Your username is also listed in the email confirmation you received.
- The email message and any attachments will appear as separate print documents.
- Choose the files you would like to print. If you do not wish to print the text of the email, highlight the corresponding document and select “Cancel Job”.
